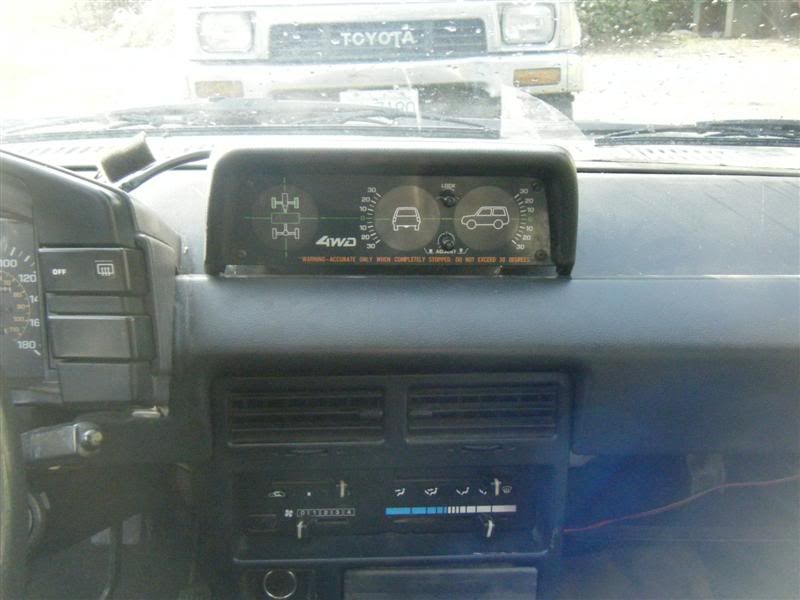
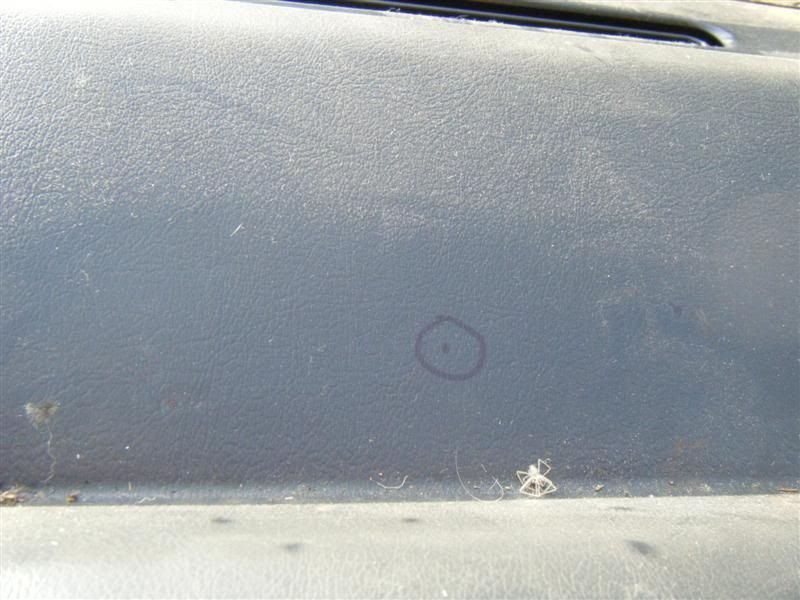
sit the inclinometer on the dash to figure out where it's going to sit. line it up with the vents below it. press it down so the mounting studs leave a faint imprint on the dash.
take a pen and mark each of the stud imprints, as well as a point right between the left and center studs. this extra hole it where the wiring will pass through the dash.
drill the hell out of your dash--carefully, that is. i used a 9/16 drill bit. i then did a test fit with the inclinometer and it was a little low and not quite sitting flush on the dash so i used a coarse round file to 'adjust' the holes a little bit higher.
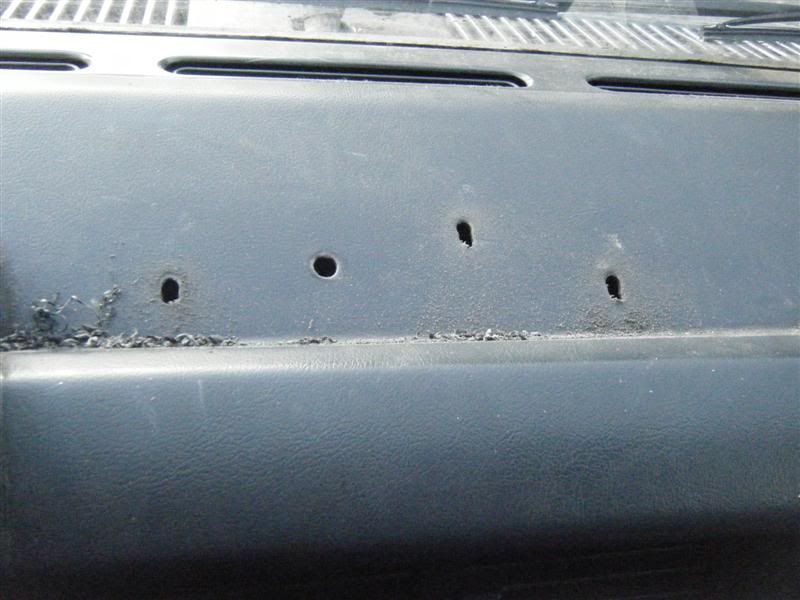
that's better. now push the wires through and sit it on its future home.
now take the dash hood off. you don't need to remove the three small screws at the front underside of the hood, just the two on the underside at the bottom...
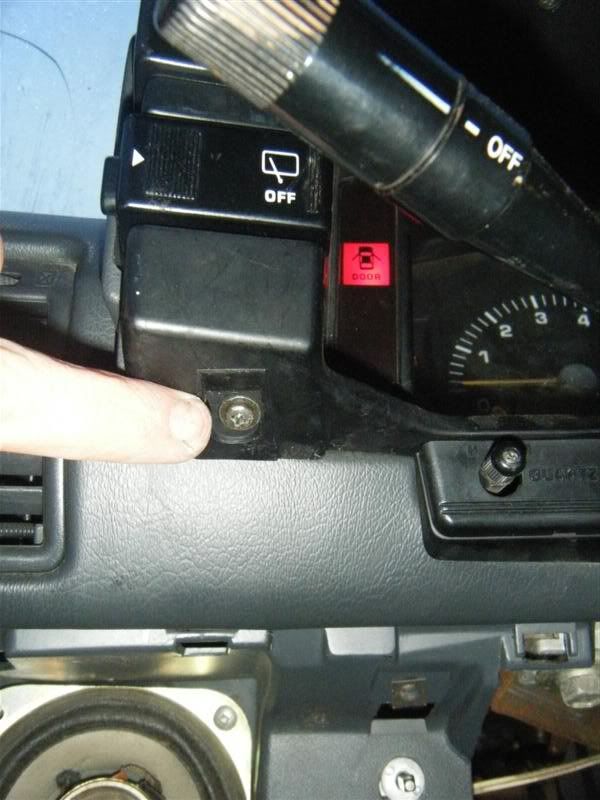
...and the two at the back on the underside of the hood.
unplug the four plugs--each one has it's own annoying style of clip so take a good look and squeeze appropriately--and pull the hood off. the clock adjustment and trip button have lots of give so don't worry, you won't break them.
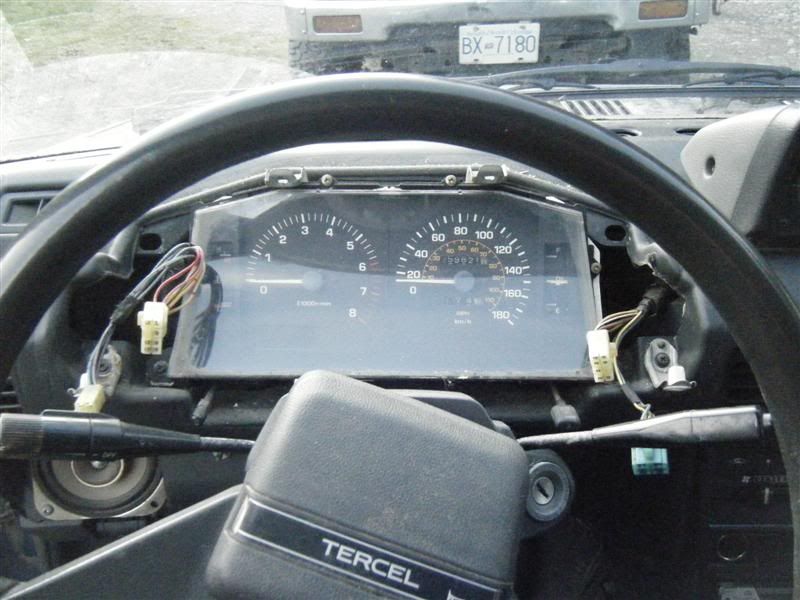
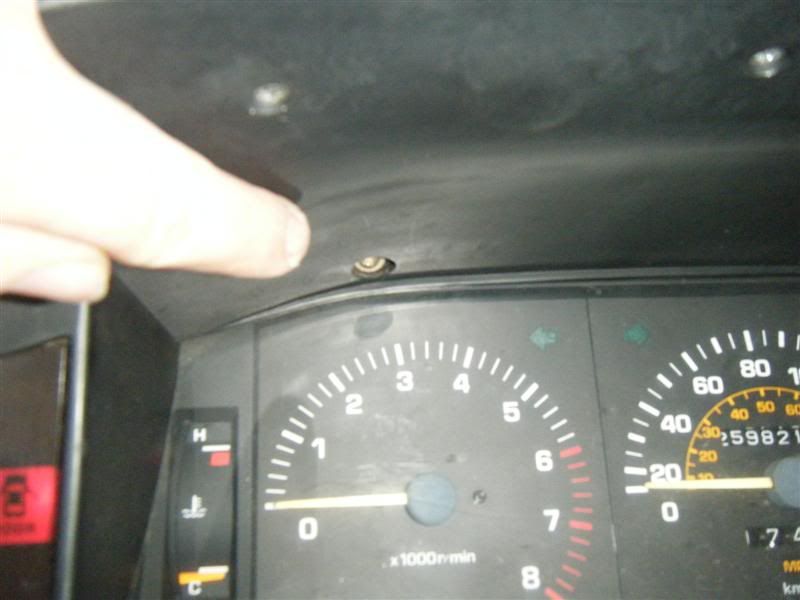
then remove the four screws holding the gauge cluster in place, as well as the two screws and little metal arms that sit just above the cluster. pull the cluster forward as far as it will go (only about 2"), unplug the two plugs and the speedo from the back. the speedo is tricky: it has two hooks to hold it on. one must be squeezed and the other must be lifted. do this at the same time while gently pulling on the gauge cluster and it should come off easily.
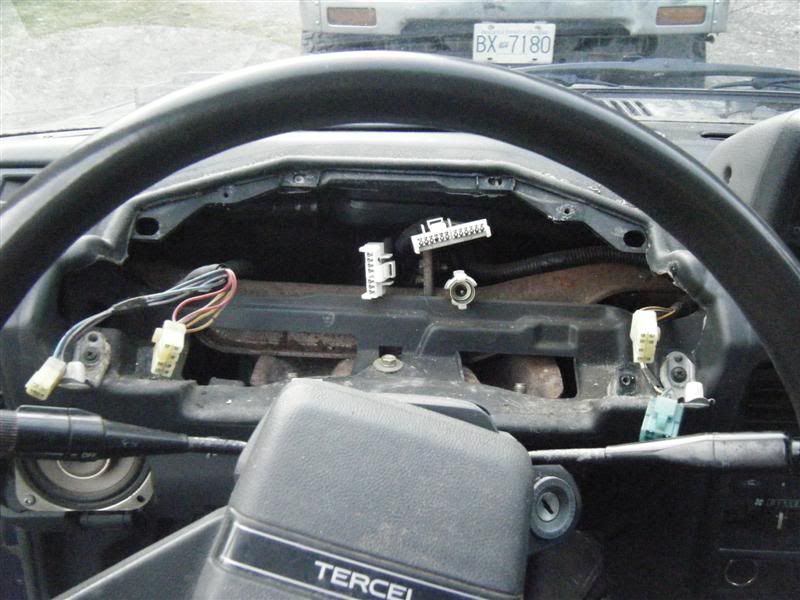
carefully cut back the protective cover on the 12-position plug so that you have access to the wires you need to splice into.
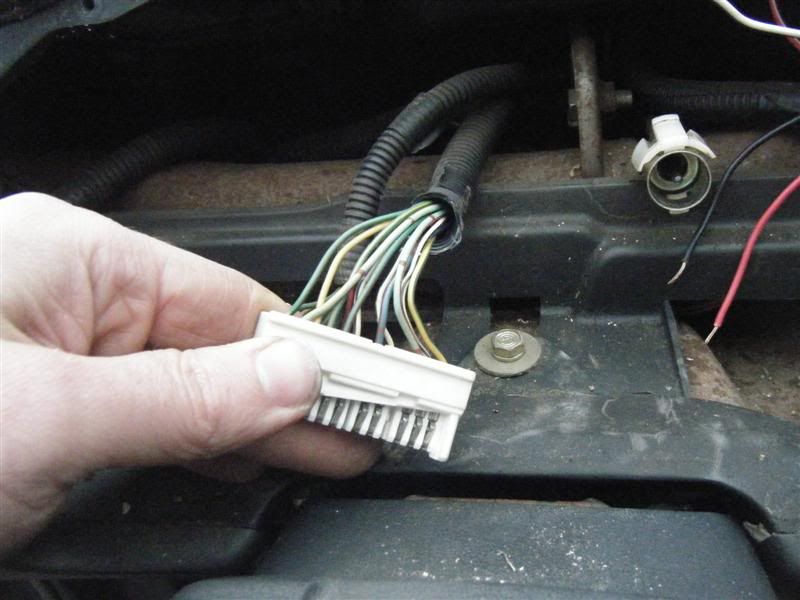
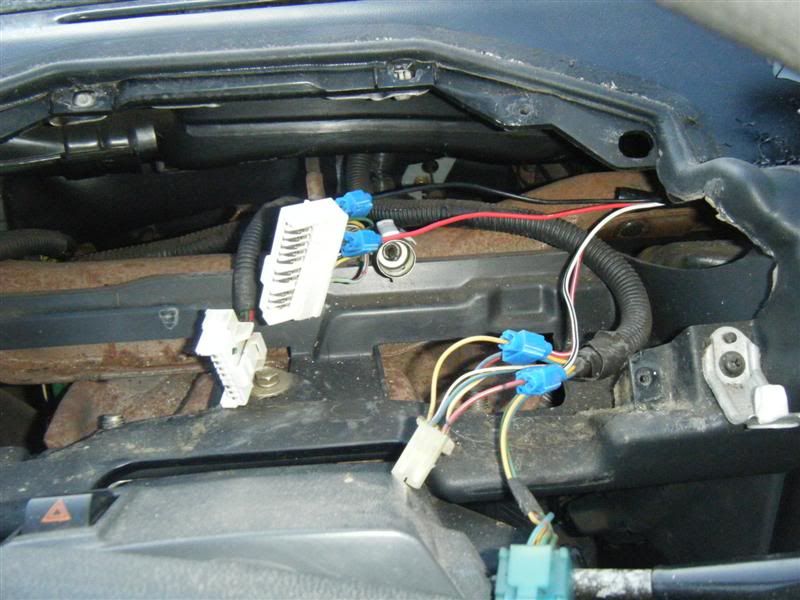
now pull the inclinometer wires over and splice them in appropriately. use the handy little splice-in guys like the blue ones i used. not sure what they're called but they're awesome. here are the directions from gtsscportscoupe's original guide on this, slightly modified to be more clear.
7-position connector in gauge cluster hood right side:
- red w/ white stripe wire of inclinometer to yellow wire of hood connector
- white w/black stripe wire of inclinometer to red w/ green stripe wire of hood connector
12-position connector in gauge cluster:
- red wire of inclinometer to green w/ red stripe wire of gauge connector--be aware that there is a mint (aka light green) w/ red stripe wire in the 12-positing connector but that is NOT the one you want.)
- black wire of inclinometer to green w/ yellow stripe wire of gauge connector
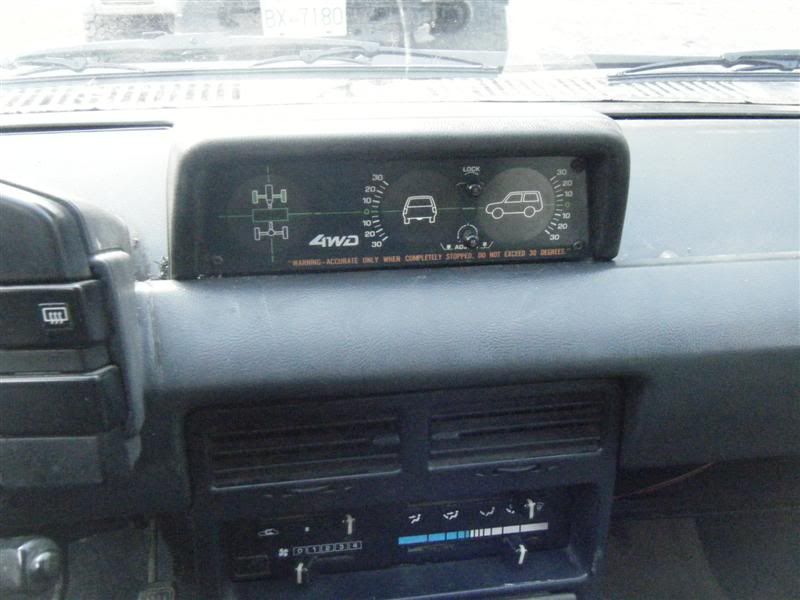
now test it out! turn on running lights and the whole thing should light up:

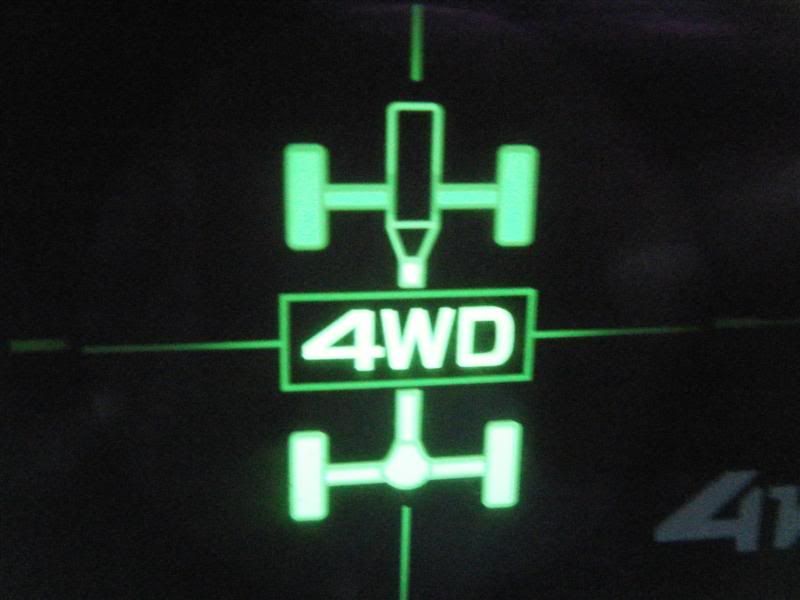
turn the key to the run position (you don't need to start the car) and put the car in 4WD and the 4WD indicator should light up:
if it doesn't light up properly, check the bulbs in the inclinometer by removing the screws on either side of the inclinometer hood and pull the hood off. it is also fastened by a few clips so pull hard. twist the bulb holders and they come out. if the bulbs are good, check your wiring.
once everything is working right, plug the gauge cluster back in, screw it back in place, plug the stuff back into the dash hood, and screw it back into place too. now to screw the inclinometer down.
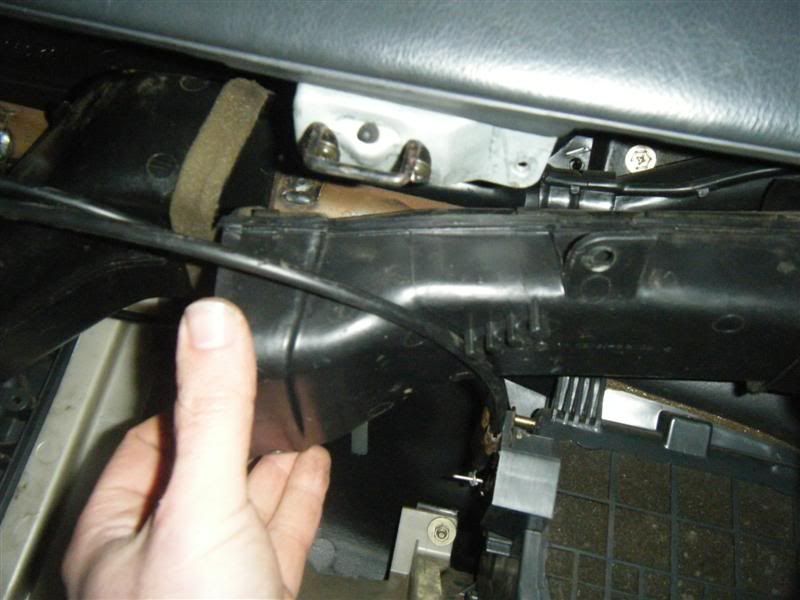
remove the glove box--two screws at the bottom of it, that's it.

then remove the screw and the right black air duct piece by sliding it right and then down and out.
then remove the screw and left black air duct piece by pulling it out. this will give you just enough room to reach up and thread the nuts onto the inclinometer's mounting studs.
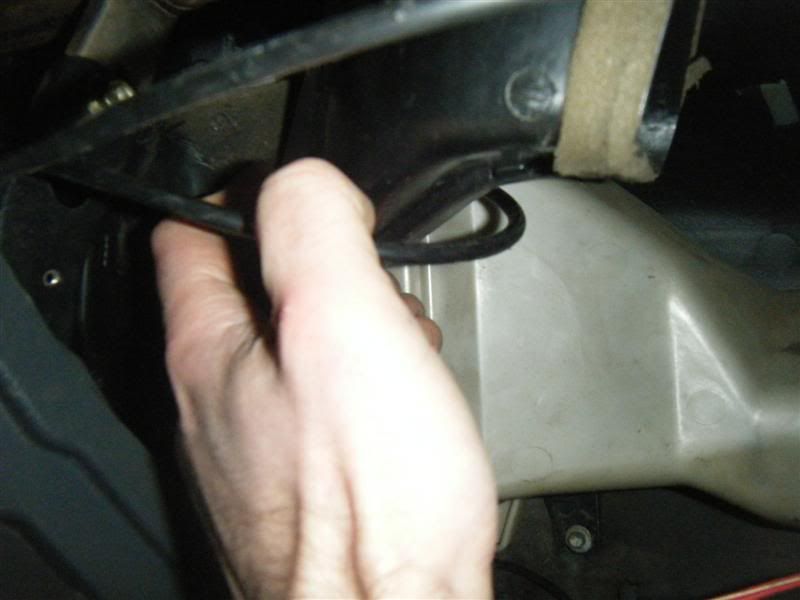
now just reach up and thread the nuts onto the studs. i do it by hand and then snug them up just a bit more by holding a socket or small wrench. they're 8 mm. now very important--DON'T DROP THE NUTS BACK THERE OR YOU'LL HAVE A HELL OF A TIME FINDING THEM.
put the air ducts and glove box back and you're done!